Bootstrap Radio Using
Intro
Sometimes the small things happen to be certainly the very fundamental due to the fact that the complete pic is really a whole containing a lot of little aspects finished and gathered if you want to check and display just as a well-oiled shiny machine. These bold words might possibly sound a little too much whenever it comes down to make controls but assuming that you just consider about it for a bit there is simply just a single component allowing the website visitor to grab one among a couple obtainable alternatives. And so in case you're featuring some forms having this kind of possibilities controls over your various web sites does this guarantee they will all look equivalent? And most essentially-- would you choose that?
Fortunately for us the latest version of one of the most popular mobile friendly framework - Bootstrap 4 appears completely loaded with a bright brand-new approach to the responsive attitude of the Bootstrap Radio Toggle commands and what is bright new for this version-- the so called custom-made form regulations-- a combination of predefined visual appeals you can simply involve and employ if you want to add the so preferred these days selection in the graphical presentations of more or less uninteresting form details. So let's look precisely how the radio buttons are expected to be defined and designated in Bootstrap 4. ( useful reference)
Effective ways to make use of the Bootstrap radio button:
In order to build a radio tab we primarily require a
<div>.form-check.form-check-inline.radio.radio-inline.disabledWithin the
.form-check<label>.form-check-label<input>.form-check-inputtype = “radio”name = “ ~ same name for all the options ~ ”id = “ ~ unique ID ~ “value=” ~some value here ~ ”disabled<input>This is likewise the place to identify supposing that you wish the radio control to at first load like checked when the webpage gets loaded. Supposing that this is certainly what you're after-- in place of
disabledchecked<input>checkedCheckbox and Bootstrap Radio Style good examples
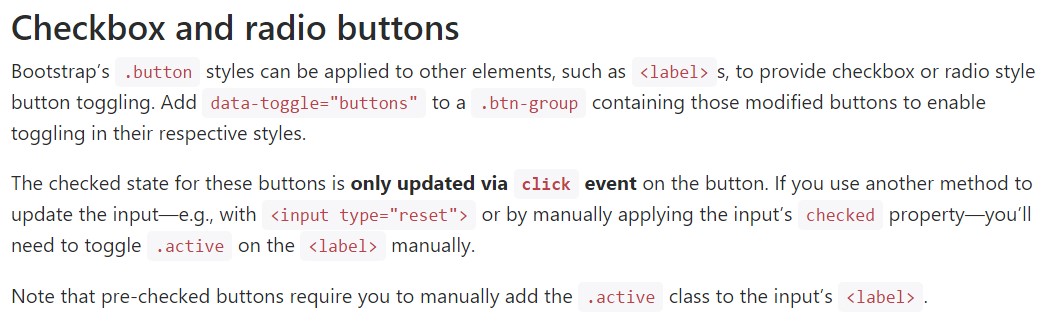
The examined status for these types of buttons is only up-dated by using click event on the button. If you make use of one other approach to improve the input-- e.g., with
<input type="reset">.active<label>Note that pre-checked buttons demand you to manually add the
.active<label>Checkbox

<div class="btn-group" data-toggle="buttons">
  <label class="btn btn-primary active">
    <input type="checkbox" checked autocomplete="off"> Checkbox 1 (pre-checked)
  </label>
  <label class="btn btn-primary">
    <input type="checkbox" autocomplete="off"> Checkbox 2
  </label>
  <label class="btn btn-primary">
    <input type="checkbox" autocomplete="off"> Checkbox 3
  </label>
</div>
Radio

<div class="btn-group" data-toggle="buttons">
  <label class="btn btn-primary active">
    <input type="radio" name="options" id="option1" autocomplete="off" checked> Radio 1 (preselected)
  </label>
  <label class="btn btn-primary">
    <input type="radio" name="options" id="option2" autocomplete="off"> Radio 2
  </label>
  <label class="btn btn-primary">
    <input type="radio" name="options" id="option3" autocomplete="off"> Radio 3
  </label>
</div>
Radio button possibility
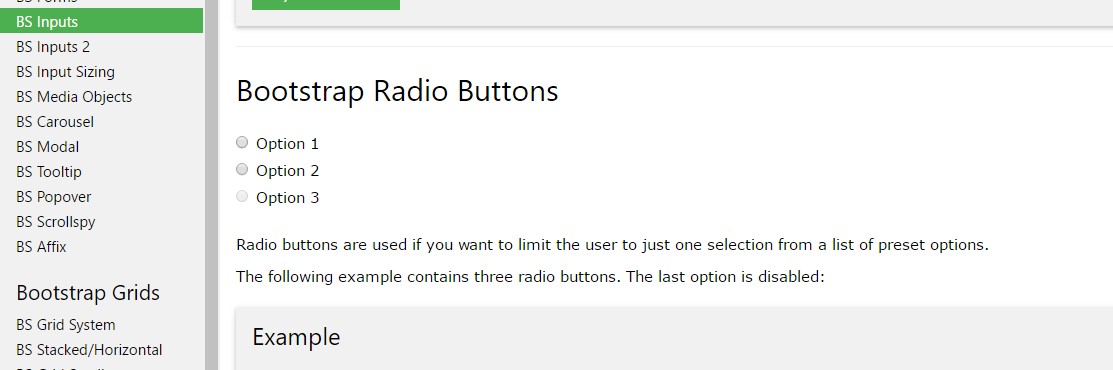
As soon as we wish the site visitor to pick out a single of a series of options, we can put into action input elements of the radio style. ( discover more here)
While there is over a single feature of this one style by using the same value inside the name attribute, only one can possibly be chosen.

<div class="row">
  <div class="col-lg-6">
    <div class="input-group">
      <span class="input-group-addon">
        <input type="checkbox" aria-label="Checkbox for following text input">
      </span>
      <input type="text" class="form-control" aria-label="Text input with checkbox">
    </div>
  </div>
  <div class="col-lg-6">
    <div class="input-group">
      <span class="input-group-addon">
        <input type="radio" aria-label="Radio button for following text input">
      </span>
      <input type="text" class="form-control" aria-label="Text input with radio button">
    </div>
  </div>
</div>
Conclusions
Generally this is the manner in which the default radio tabs get specified and do a job along within Bootstrap 4-- now all you need are some options for the site visitors to choose from.
Review several online video short training about Bootstrap Radio Button:
Linked topics:
Bootstrap buttons authoritative documentation
Bootstrap Radio button - short training
Checkbox radio buttons break entire toolbar styling
